
Brandi Voss - Clay at Home
Pottery at home and how it works
For those of you who live within driving distance of my studio in Issaquah Washington.
Clay at Home!
Purchase and pick-up clay at Voss Ceramics.
The cost of clay purchased from us includes firing and glazing. 10lbs of clay including glazes, firing and tools is $35
25 lbs of clay including glazes, firing and tools are $65
Bring your clay home and work on your pieces.Once you are ready for the bisque fire, transport your leather-hard pieces to Voss Ceramics (in Issaquah) (see further instructions and tips below!) and I will store in the studio until your piece is ready for the first fire.
Once your piece is ready to be glazed you can choose a few glazes, I will pack up glazes and you can glaze at home or at the studio (appointment required). I will add them to the electric kiln and fire your finished product for you.
There is no set kiln schedule nor are we able to predict the ebb and flow of work in the studio. The Kiln is fired when there is enough work to fill it. I will notify you when your pieces(s)are done and ready for pick up. Turn around is no more than 2 weeks.

Clay at Home!
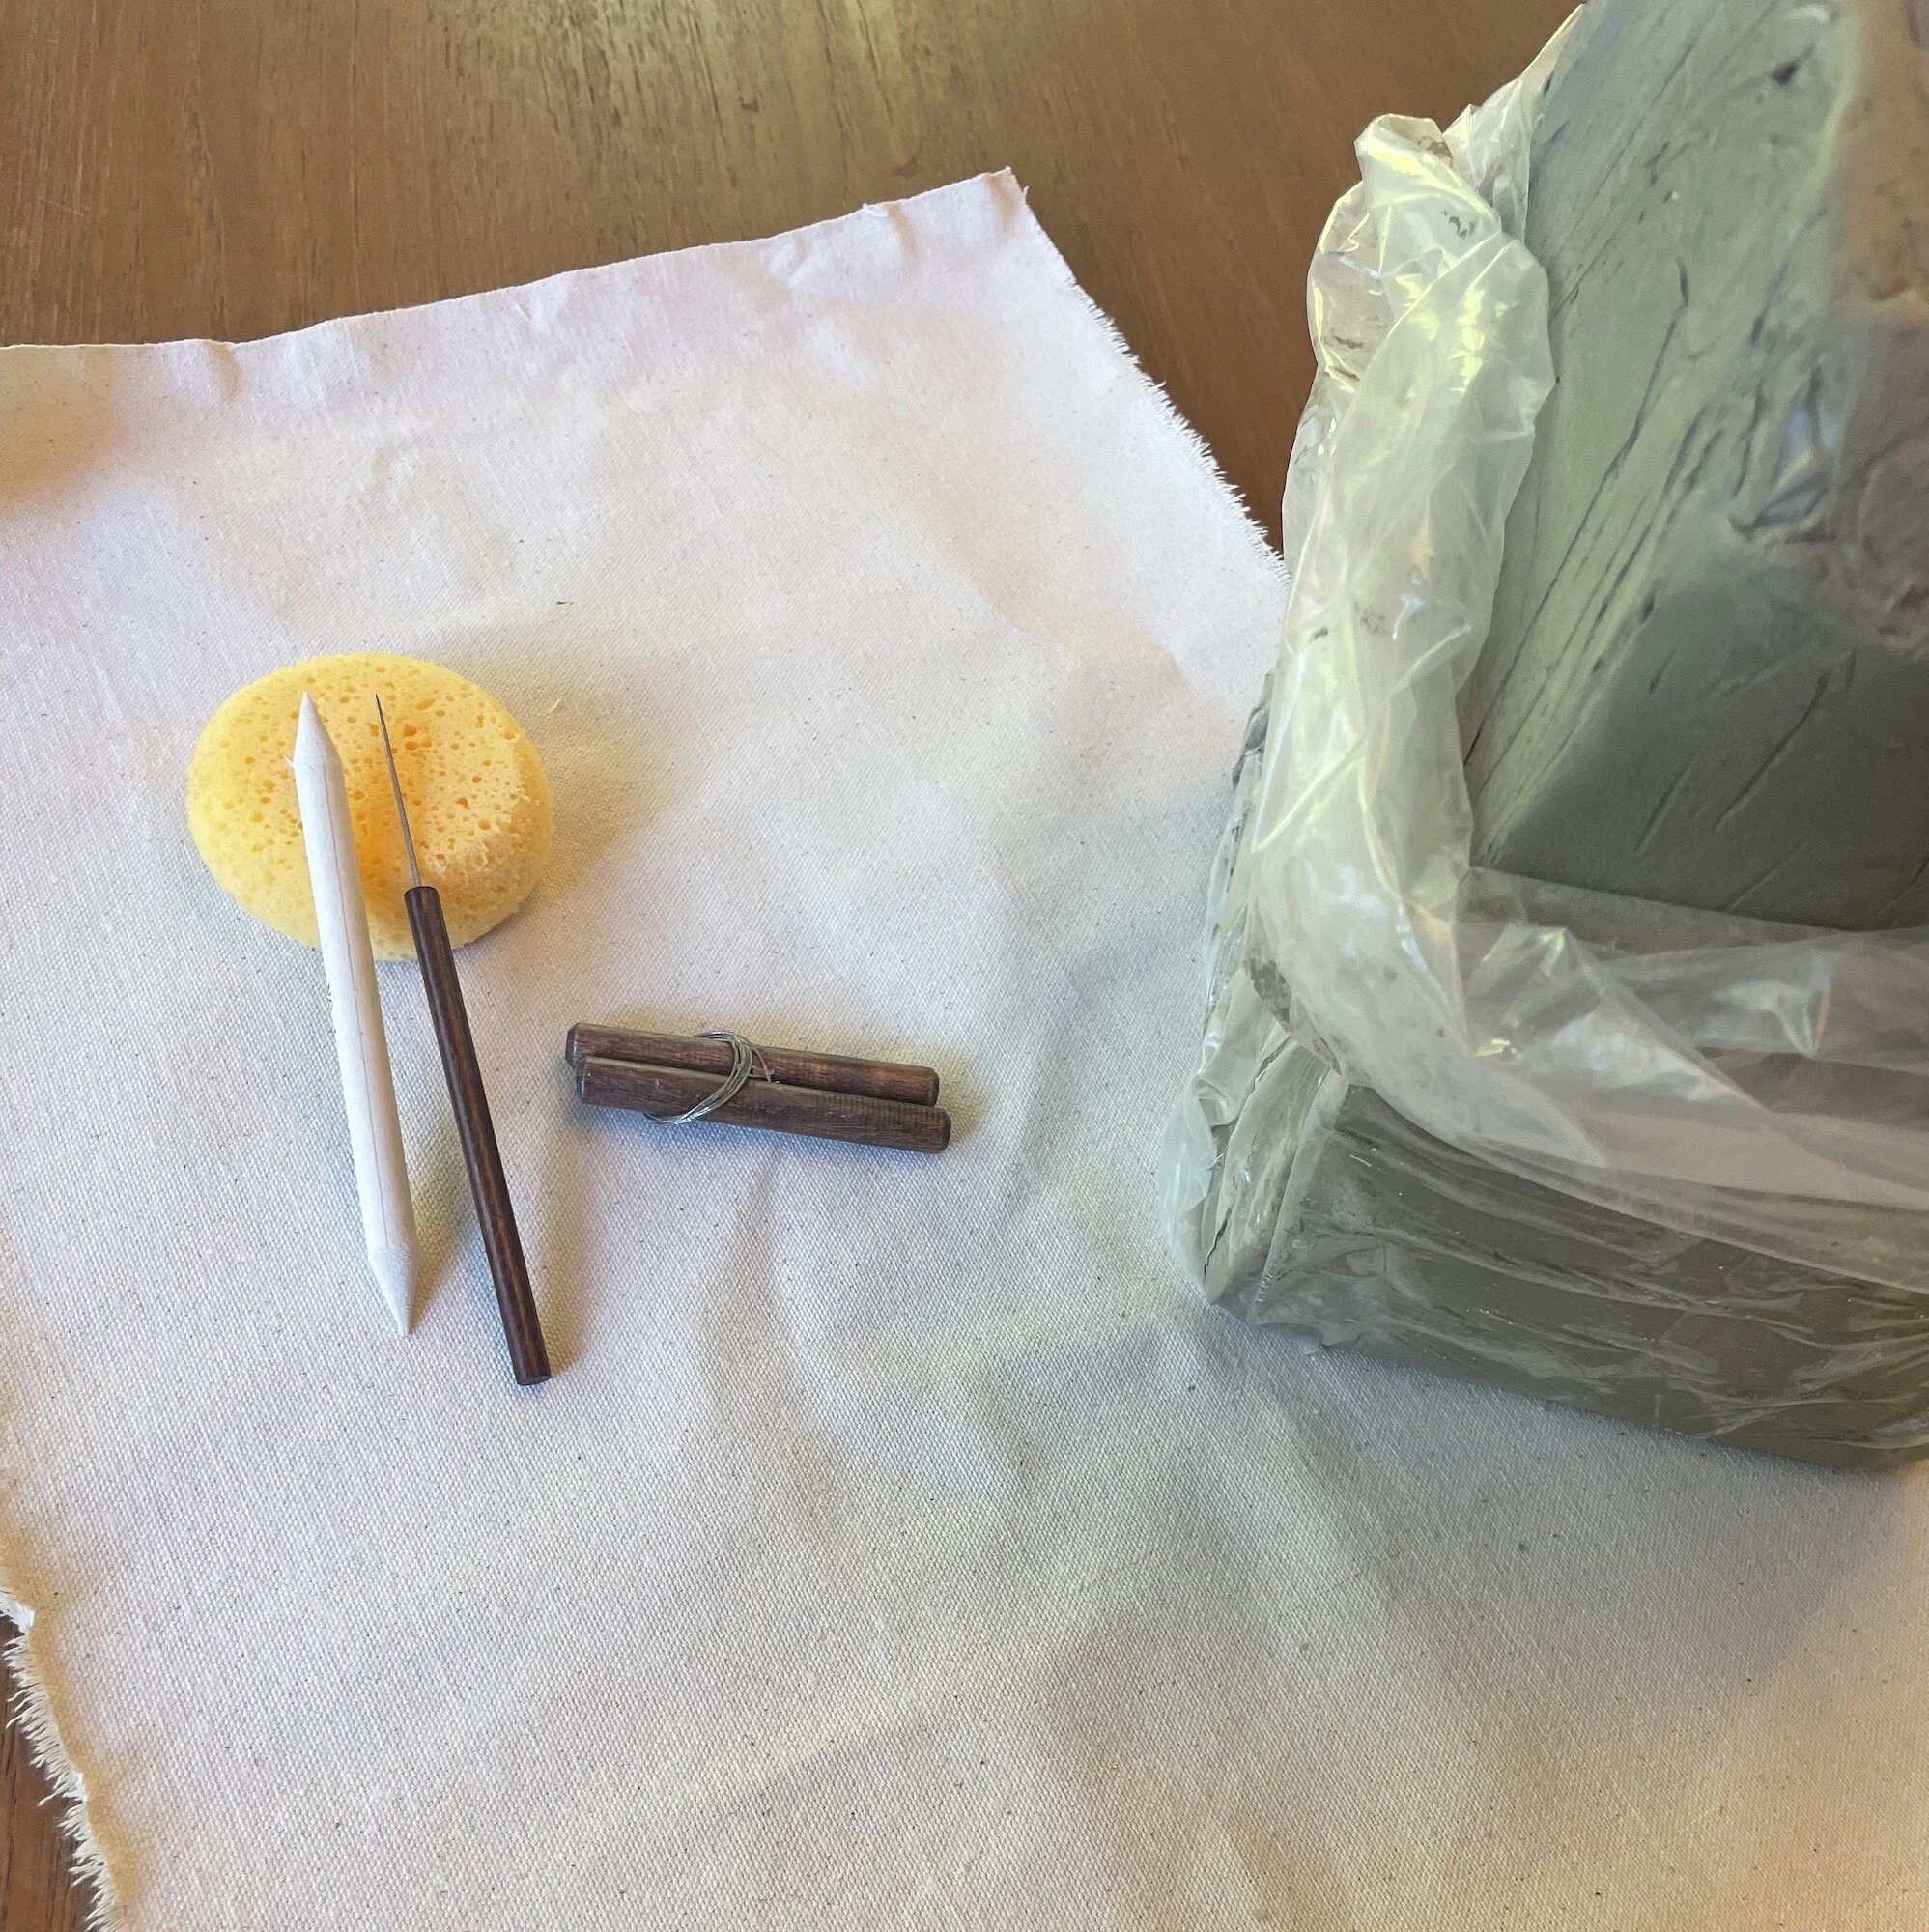
SUPPLIES FOR A HOME STUDIO SETUP
Clay (provided)
Tools (sponge, needle tool, sculpting tool,
clay cutter are provided in kit)8oz Spray Bottle
bucket of water to use as a rinse
Large sponge for clean up
10×12 inch canvas mat (provided in kit)
.5 mm plastic for covering work
Clay at Home!
SETTING UP A SPACE
Try to set up your work area away from your primary living space – a sun porch, the garage, or a covered patio are all good options to minimize silica dust in your home
If you can’t set up a separate space, put a drop cloth under the table you are using
Keep a lidded container for your scraps and clean as you go
Sponge off drop cloth, table surface, and tools at the end of every work session
Use a bucket as a rinse for sponge, tools and your hands. Don’t rinse clay in household sinks!
Once clay has settled to the bottom of the bucket and water above is clear, slowly pour off or siphon out clear water and scrape sludge into the trash.
Clay at Home!
TRANSPORTING YOUR WORK FOR FIRING
Students can drop off completed work made with clay purchased from our studio. Hours are 10-8 on weekdays and 10-6 on weekends.
Make sure you clearly sign/label all of your work.
Make simple forms. Protrusions, little bits sticking out, thin fragile handles are things that tend to get broken in transport.
Remember, clay is at its most fragile when it is bone dry.
If possible wrap your work up in plastic once it gets to be leather hard or put pieces in a damp box to store until they can be brought back to the studio.
A damp box can be any plastic box with a damp sponge in it, or a piece of a damp (not wet!) sheet to cover the work.
When transporting the work, pack it carefully in a cardboard box (or use your damp box. Make sure to cushion all of the pieces from the box and each other. Dry cleaning plastic, bubble wrap, inflated balloons all work well for this. Wine or liquor boxes with dividers work well for transporting cylindrical forms. Don’t stack pieces on top of each other without padding in between.
Murphy’s Law: No matter how carefully you drive, if you have greenware in the car you will be forced to stop short. Don’t risk it – pack your pots carefully.
PlEASE NOTE:
• No outside clay or glazes allowed. Firing and glazing is included in the purchase of our clay.
• Cash, Checks or Venmo is required as payment when picking up purchase.